Nail Drill Bits Guide
When diving into the world of nail artistry and manicure maintenance, one will quickly encounter the versatile tool known as the nail drill. Central to the functionality of this tool are the drill bits that perform various tasks, from removing gel polish to cleaning cuticles. Understanding the types and purposes of different drill bits is essential for both professionals and DIY enthusiasts alike. This article serves as a comprehensive guide to understanding the world of nail drill bits.
1. The Importance of Nail Drill Bits
Nail drill bits play a pivotal role in manicures and pedicures. They are designed to:
- Remove gel and acrylic nails
- Clean and shape natural nails
- Remove cuticles and excess skin
- Buff and shine the nail surface
2. Different Types of Nail Drill Bits
a) Basic Bit Shapes
- Cylinder: Perfect for surface work, including filing down the nail.
- Cone: These come in both large and small sizes and are typically used for under-nail cleaning and cuticle work.
- Needle and Flame: Ideal for detailed work, these bits get into tight spaces and are great for drawing precise patterns or cleaning up intricate designs.
- Ball: Used primarily for cuticle work, these bits help in cleaning up the nail base.
b) Materials Used
- Carbide Drill Bits: These are among the most durable and are perfect for removing acrylic nails and thick gel polishes.
- Ceramic Drill Bits: Known for their heat resistance, they're gentle on nails and are often used for surface work and cuticle care.
- Diamond Drill Bits: These come encrusted with diamond particles, making them excellent for detailed work and rough skin removal.
c) Grit Types
Grit refers to the coarseness of the bit. From finest to coarsest, the common grits are:
- Super Fine (SF): Used for buffing and polishing.
- Fine (F): Ideal for cuticle work and cleaning.
- Medium (M): For general nail shaping and surface work.
- Coarse (C) and Extra Coarse (XC): Best suited for removing thick gels and acrylics.
3. Safety and Maintenance
- Always Start Slow: Especially if you're new, begin with a lower speed on your drill and gradually increase as needed. This ensures you don't damage the nail or cuticle.
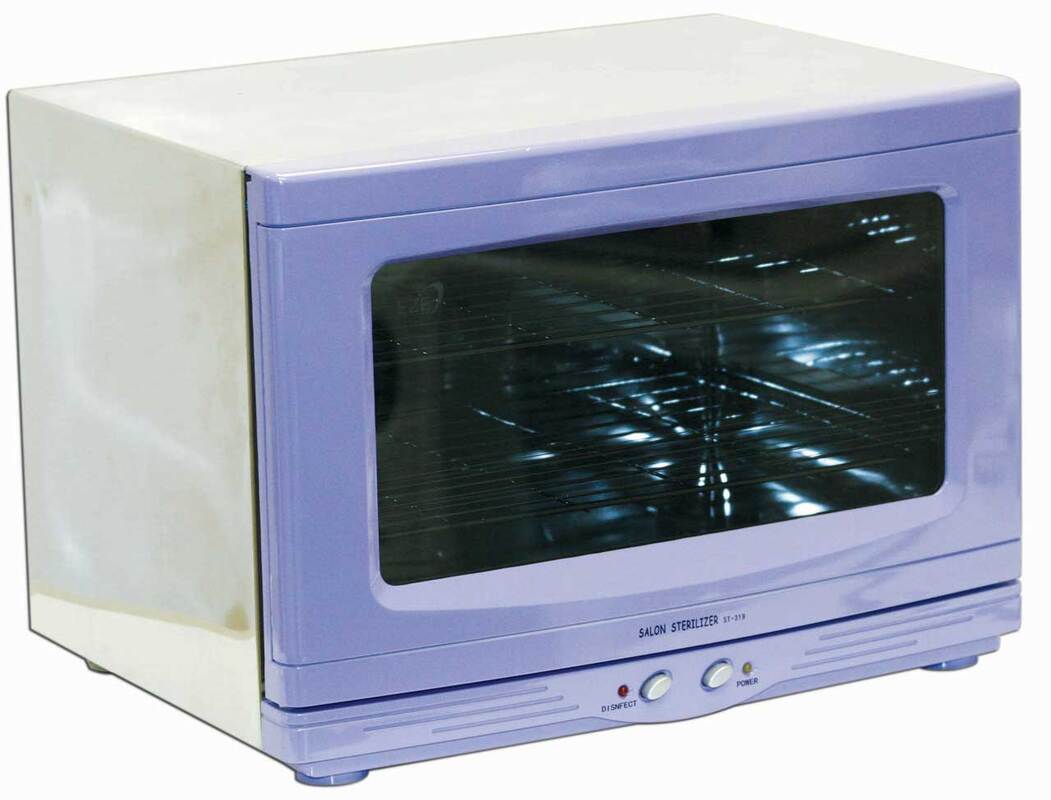
- Sanitize After Every Use: To avoid infections, clean and disinfect your drill bits after each session. Some bits can be autoclaved, while others might need special cleaning solutions.
- Replace Regularly: Over time, bits wear down. For best results and safety, replace them once they begin to dull.
4. Final Thoughts
Understanding your nail drill bits is crucial for achieving the perfect manicure and ensuring the health and safety of nails. By recognizing the type, material, and grit appropriate for each task, you can ensure that your nails are in the best possible hands – yours! Whether you're a seasoned professional or a DIY enthusiast, knowledge is your most vital tool.



Leave a comment